This page gives details of my more recent projects, dating back to around 2003. The most recent projects are at the top.
Mk1 needs more power, 300 Watts is only really enough for flat ground and small head wind, even at that the motor runs hot. Also, solid tyres are bad for anything but the smoothest cycle tracks. Cobbles or ancient tarmac make for an unconfortable ride. To improve on both points, hoverboard wheel hubs are being padded out with 3D printed spacers and aluminium to fit a pair of 10 inch tyres. A small step up in size from the 8 inch currently used. Alas it wasn't possible to fit 8 inch tyres onto the hoverboard wheel hubs, there is nowhere for the air-valve. Have used the lost PLA method to cast hub motor mounts, which is itself a learning curve.
Both of my cats really like dry cat biscuits. However, they really disagree with one of the cats and she can't be bothered going to the tray in the emergency. As the other cat is old and I want to give what I can to keep her happy, the only solution was a machine that withheld the food bowl from one but presented the food bowl to the other. Initially tried just using cat weight but that was unreliable. As one is black+white, the other is tabby, the only solution was to also use colour. So now have a Pi camera and LED lighting looking for colour changes. Using a YUV image, the colour content is the sum of U^2+V^2. Low pass and high pass filters then account for weight sensor and colour drift. This setup has been very reliable, only had a few failures brought about by changes in room lighting combined with the other cat trying its luck.
For more fun factor, and practically as the trike is 5 feet long, used the trike parts to make a e-skateboard. Single 8" hoverboard hub motor at the back and a pair of 8" pneumatic tyres at the front. 12S2P Lipos (same as used in first phase of e-bike) fitted into the deck, along with motor controller and remote throttle receiver. This has been a success, have made many "pleasure" trips around the area and beyond. It is nice to stand there and watch the scenery roll past. Made possible by some (generally) nice cycle tracks. Have also used it with bigger e-bike battery taped into the middle of the deck. Does around 15 mph with 300 Watts.
Have spent much time scripting stuff in Minecraft for the entertainment of the kids. Each of those deserves its own section. Generally done with the rcon interface and scripted in gawk. Considerably more accessible than the Mine Forge alternative because installation is not a nightmare.
Using the other hoverboard wheel and another e-bike controller, went for something more relaxed. It is a smooth cruising machine, and steered with the feet, is mostly hands free. Running on 12S Lipo, 15mph feels fast when sitting close to the ground.
Based on kick scooter frame, with hoverboard hub motor wheel and e-bike controller. The hoverboard was a spares-or-repair from ebay, control circuit had exploded but the two 8" hub motors and battery were good. This all started when I got one of the kids a hovercart to attach to the hoverboard, and I needed a way of keeping up. A box-section frame was welded to convert the single-axle hub motor into something that securely bolts to the back of the (trimmed) kick-scooter. Some wiring later, and a programmed Arduino to enable ebrake in the e-bike controller, I had a working machine than ran at about 12mph on the 36V hoverboard battery.
Continuing with E-Bike, needed a better battery. Decided on 12S8P Samsung 29E batteries, as they are cheap per Wh and have the current capacity in this configuration to deliver about 950 Watts. Also made a spot welder based on a microwave oven transformer. Built into the design was per-battery fuses. I don't know the chances of cell internal shorts, but the consequences would surely be bad. The only design flaw in this was using solid fuses, so if the batteries suffer a physical shock, it is possible to shear a solder joint to a cell.
Discovered the joys of riding around the countryside on my bike. Then over did it with a 42 mile round trip and damaged my knees. Tech to rescue, I bought an e-bike kit. Rear geared hub motor, reported to be 36V 350Watt. Came with waterproof connectors and was complete except for battery. The battery is the most expensive part. Having no experience, I wanted to try it out using the quadcopter batteries. Ran this for a while but quickly wanted to upgrade to a battery with capacity, hence above.
Bought a 3D printer, seeing that the CNC machine takes so very long to produce something and needs constant attention while it is cutting. The 3D printer in contrast, once it starts, you leave it to print. The same ceramic process that was used for the hands can be used with PLA plastic, so this was a potenial easier route to making complex metal parts. It was also found that PLA plastic is reasonably strong, there is not that much need to resort to casting in metal. Having played about with the printer for a while, I thought I'd print an RC boat for my kids. Disappointed by the selection on thingiverse (where everybody seems to think they are experts yet aren't), I took the many steps to using an old plan for 1920's wooden motor launch and converted it into a 3D printable model. Worked well, planes and runs quiet. The 3D models can be downloaded and process can be read about here.
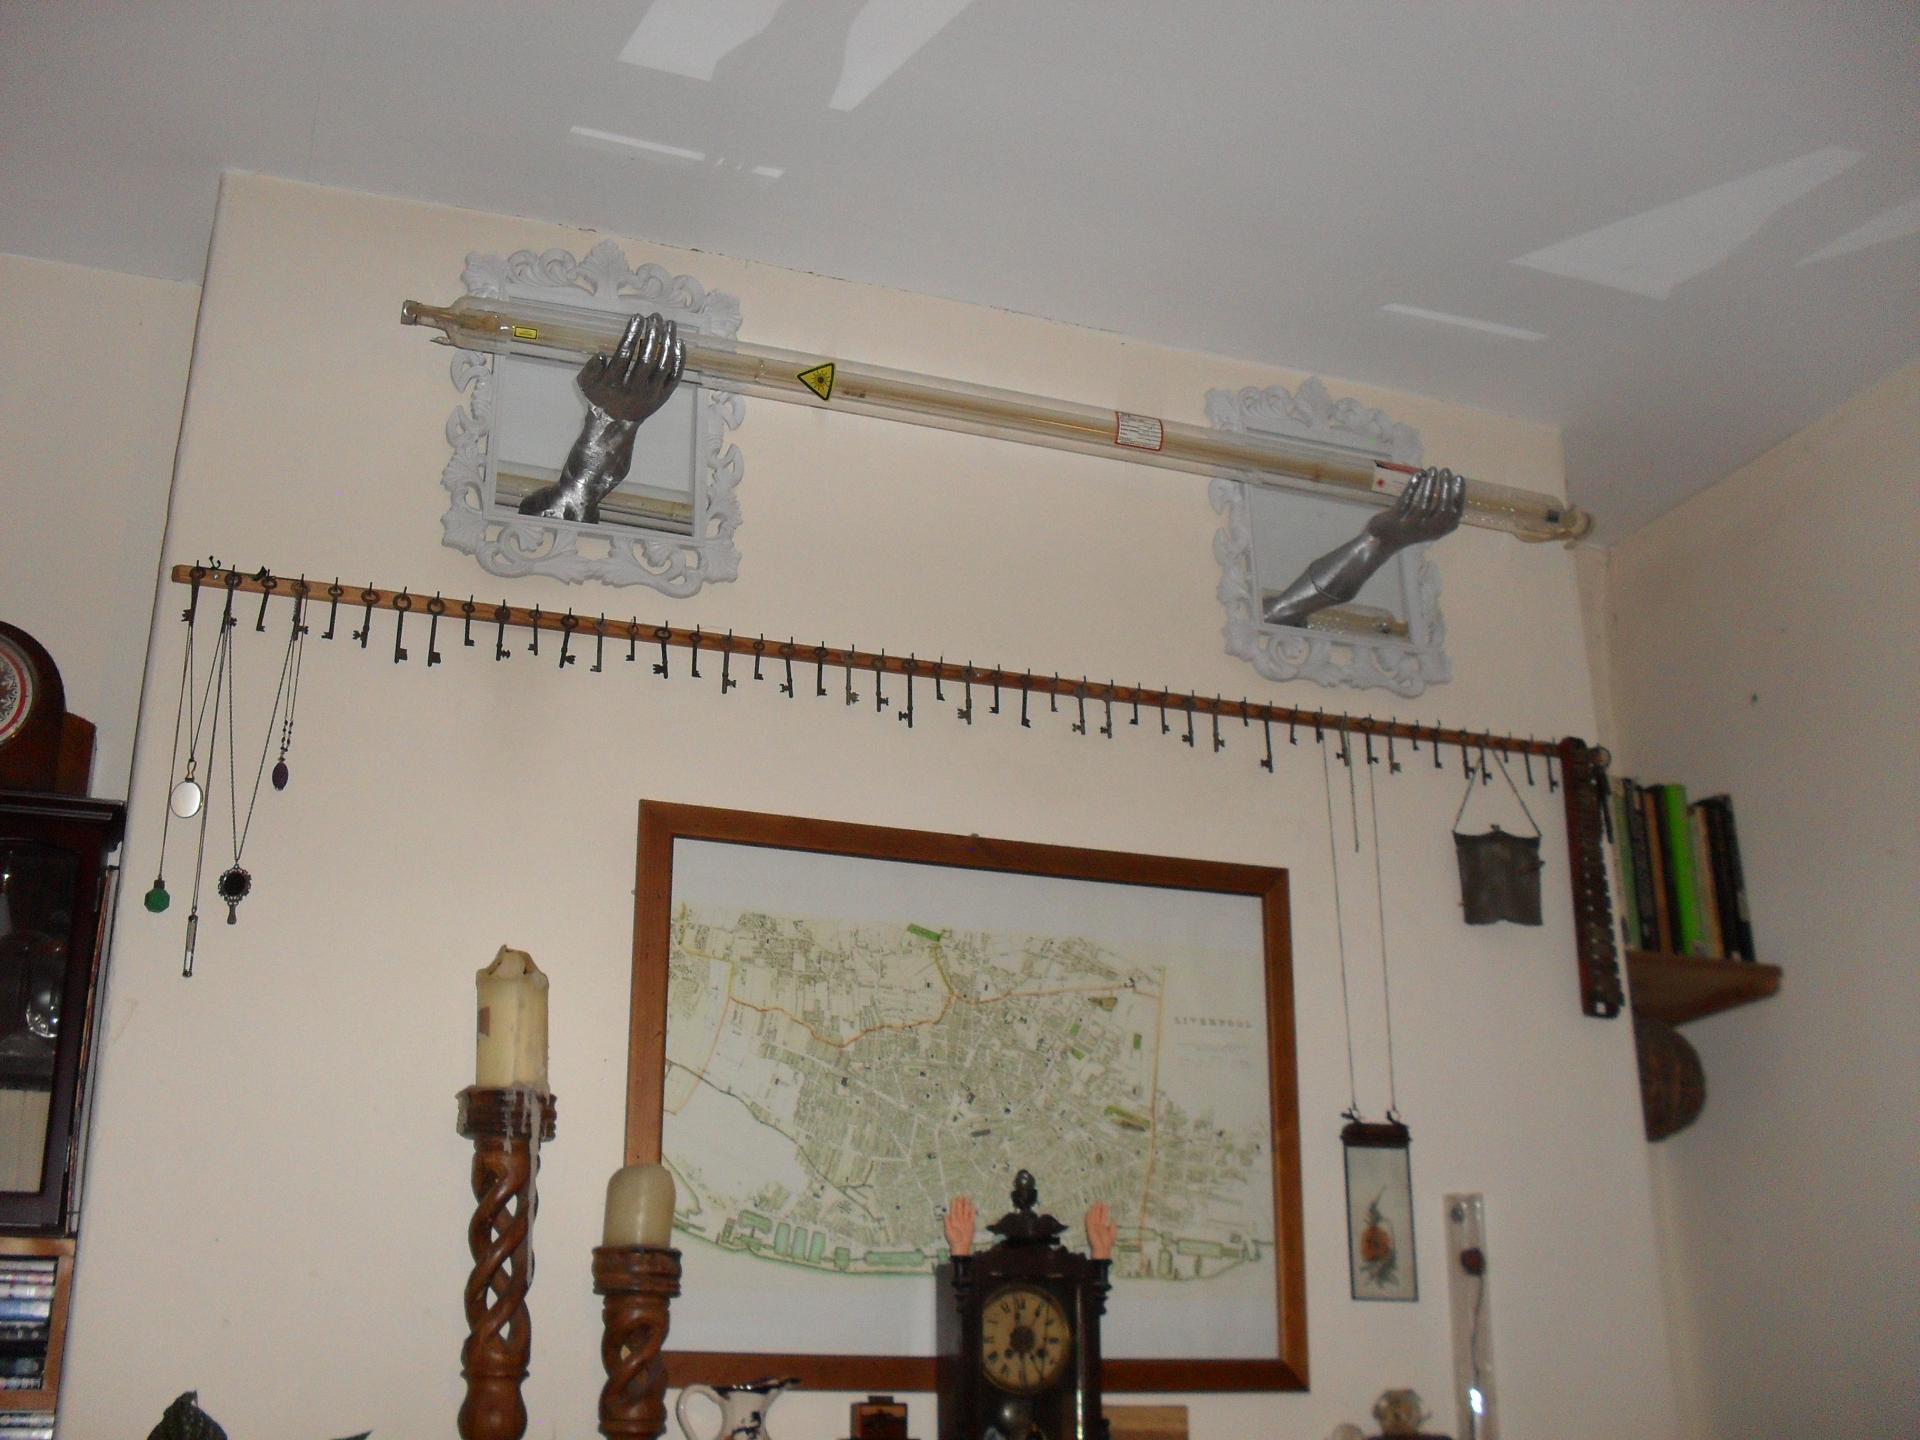
A friend was given a broken but intact laser tube (of about 5 feet long), with the plan mounting on the wall as an interesting object. The initial thought was that I could cast something as mounting brackets that perfectly fitted it and looked the part. After weeks of playing with the idea, and coming across various youtube videos of different processes, this morphed into making life casts of my arm and hands in aluminium. From the videos it was clear the processes of various people could be combined to make this possible. Alginate was used to cast my hands, one at a time. The negative was then filled with candle wax and poured out again, to build up hollow wax hands. The wax hands were then painted in mocholite, a ceramic, and after many coats and drying, were placed in a fire with force air (the same used for the original casting) to burn out the wax and harden the ceramic. A litre of aluminium was then poured into the now hollow ceramic, and once placed in water, with the boiling water blasting off the ceramic. This is the short version of the overall process, much planning went into this for it to actually work out. Boxes had to be made to hold the alginate, the volume of my hand had to measured to know there was aluminium, the wax hand needed addition sections to account for metal shrinkage. To finish off the effect and give it something to mount to, the arm/hand castings were cut cleanly flat and then drilled and tapped. Holes were drilled into mirrors and a steel bar was glued to the back of the mirrors. The arm sections could then be bolted to the face of the mirror. The steel bars also had a keyhole drilled/filed into them. A pair of mounting brackets were cut/welded, with many screw holes for attaching to the wall and a single bolt that slotted into the key hole. This all allowed the result to be hung on the wall knowing that everything was very well attached. The mirrors came with the white flowery frame, which I kept, never really sure if the result was better with or without. This was the result.
After building the CNC machine, and then rebuilding it as standard XYZ Cartesian, I was surprised at the poor state of free gcode path generators. They existed but were so suboptimal that using them was unrealistic, it takes long enough to cut away material, revisiting what has already been cut time and time again is not a solution worth having. To get around this, much time was spent writing a path generator that only visited an a location once and remained within the pysical limits of the cutting head. The overall approach was to render the .obj and then define paths of increasing distance away from the final cut surface, for each step height. The resulting software is command-line only but did the job. It needs some documentation before it is fit for public consumption. My use case was a complex gear set, curved on all sides, and cut from opposite sides. The tricky part was aligning both sides, both in software and physically.
While playing some more with the CNC machine, and with different materials (namely wax), it was clear the multitool just wasn't slow enough. With an Arduino Pro Mini, TRIAC driver circuit, zero-crossing-detector circuit, optical RPM sensor, obviously all opto-isolated, and with some modified code that implemented a PI controller. As ever with Internet sources, what was out there just wasn't quite what I was after. The circuit I used is here, where the top is basic pinouts, the middle is the TRIAC driver and the bottom is the zero-crossing-detector (fed with 240V) and very bottom is a basic detector board layout. In the flesh it is here, where the left is a UBS-Serial converter, the middle is an arduino pro mini and the right is the combined TRIAC driver and zero-crossing detector. The cable going off the bottom is the RPM sensor, obviously buried inside the tool itself, using a old school mouse wheel sensor and colouring the end of the motor shaft 50% black and 50% white. The source code is here, modified from zero-crossing TRIAC driver code by Dave Berkeley. Going from memory (it has been a while since I wrote it), the original BlueTooth was dropped and RPM sensor support was added, along with commands to set PI parameters. Seems to work, though it definately needs some start-up/initialisation code that primes the "I" integrator to something reasonable. At the time I thought it was good enough, and got on with experimenting with lost wax casting and an alternitive 3D scanner.
Saw a video of aluminum casting at home, and realised it was practical with lo-tech equipment. As an obvious extension of the CNC machine, I had to have a go. There are quite a few techniques, each with things going for them. So here I documented some of what I did along the road to finding what works. Even comes with video of lost foam casting.
As another diversion from the quad copter, wanted to try my hand at computer controlled cutting/milling, as I doubted extrusion style 3D printing would be as flexible. Having never done it before, I also wanted to start without spending money on expensive large straight bits of metal. After a few months, the result was hardware that could shape soft wood and the appropriate software module for LinuxCNC to map the machine space onto Cartesian space (all here), and some more software that generated tool paths based on images - which works but I've not yet made the internal parameters into options and so accessible to non-programmers.
As a diversion from the quad copter, tried 3D scanning of objects. The end result is UVCto3D, a turn-table based 3D scanner that reads directly from a UVC capable webcam (such as the 1600x1200 Logitech 9000 Pro) and produces a colour 3D mesh. 2 passes are required, the first picks up depth using a red laser line, the second samples the colour from the same pixels. This is driven from a simple GUI that shows the configuration, scan modes and various views in real time. Compared to other 3D scanners, this stands out as being capable of colour, and compared to the other turn-table based scanners, is the only one that reads directly from the web cam.
Looking for something different and more technical than fixed wing aircraft, and less mechanical bits to bend than a traditional helicopter, I investigated the growing field of multi-copters. The motors, battery and speed controllers are widely available, the difficult part is the control software. There are a few out there, some open source, some closed source, some more open than others. I went with MultiWii as it is really open, understandable, and can be extended with diffent versions of sensors and to different purposes. This was taken a step further by adding another embedded computer, more flexible remote control options and display in a ground control station here.
Error Recovery Control is the standardised term for Western Digital's TLER and Hitachi's CCTL. Western Digital have released (some say leaked) WDTLER, an MSDOS utility to set the TLER timers for read and write operations. WDTLER is WD specific, and being MSDOS, is not convenient. This project describes and implements ERC by patching smartmontools. Also includes a patch for HighPoint rr232x to support a more capable TASKFILE ioctl().
Modern gas meters (mine was fitted 12/2007) might contain a magnet attached to the least significant digit, providing an indication of the digit changing. In my case, a blue-tacked reed switch closed when the digit read 4.5 to 7. The exact close position depends on magnetic strength, so it is more accurate to time how long it takes for the magnet to come back around and repeat the same transition, giving an average gas consumption over the duration of the revolution. Reading this signal requires a reed switch and the spare CTS signal from the serial port used for the above hardware. The software that outputs both electrity and gas consumption can be found here.
After months of doing other things and never finding a ready made solution to the above IrDA hardware problem - besides jamming a laptop under the electricity meter, a little bit of work and luck produced a simple design that can decode IrDA accurately enough to be considered valid RS232 serial data and connected to the computer. It is also sufficiently low power to operate entirely by power provided by the serial port. Unlike a full IrDA decoder, this circuit uses common parts with a good chance of you already having the components to hand. The circuit and its theory of operation is here.
Another reverse engineering project, this time to find the meaning of the fields continously output by the Elster A100C electricity meter. A description of the data format and fields, and a program to read them are here.
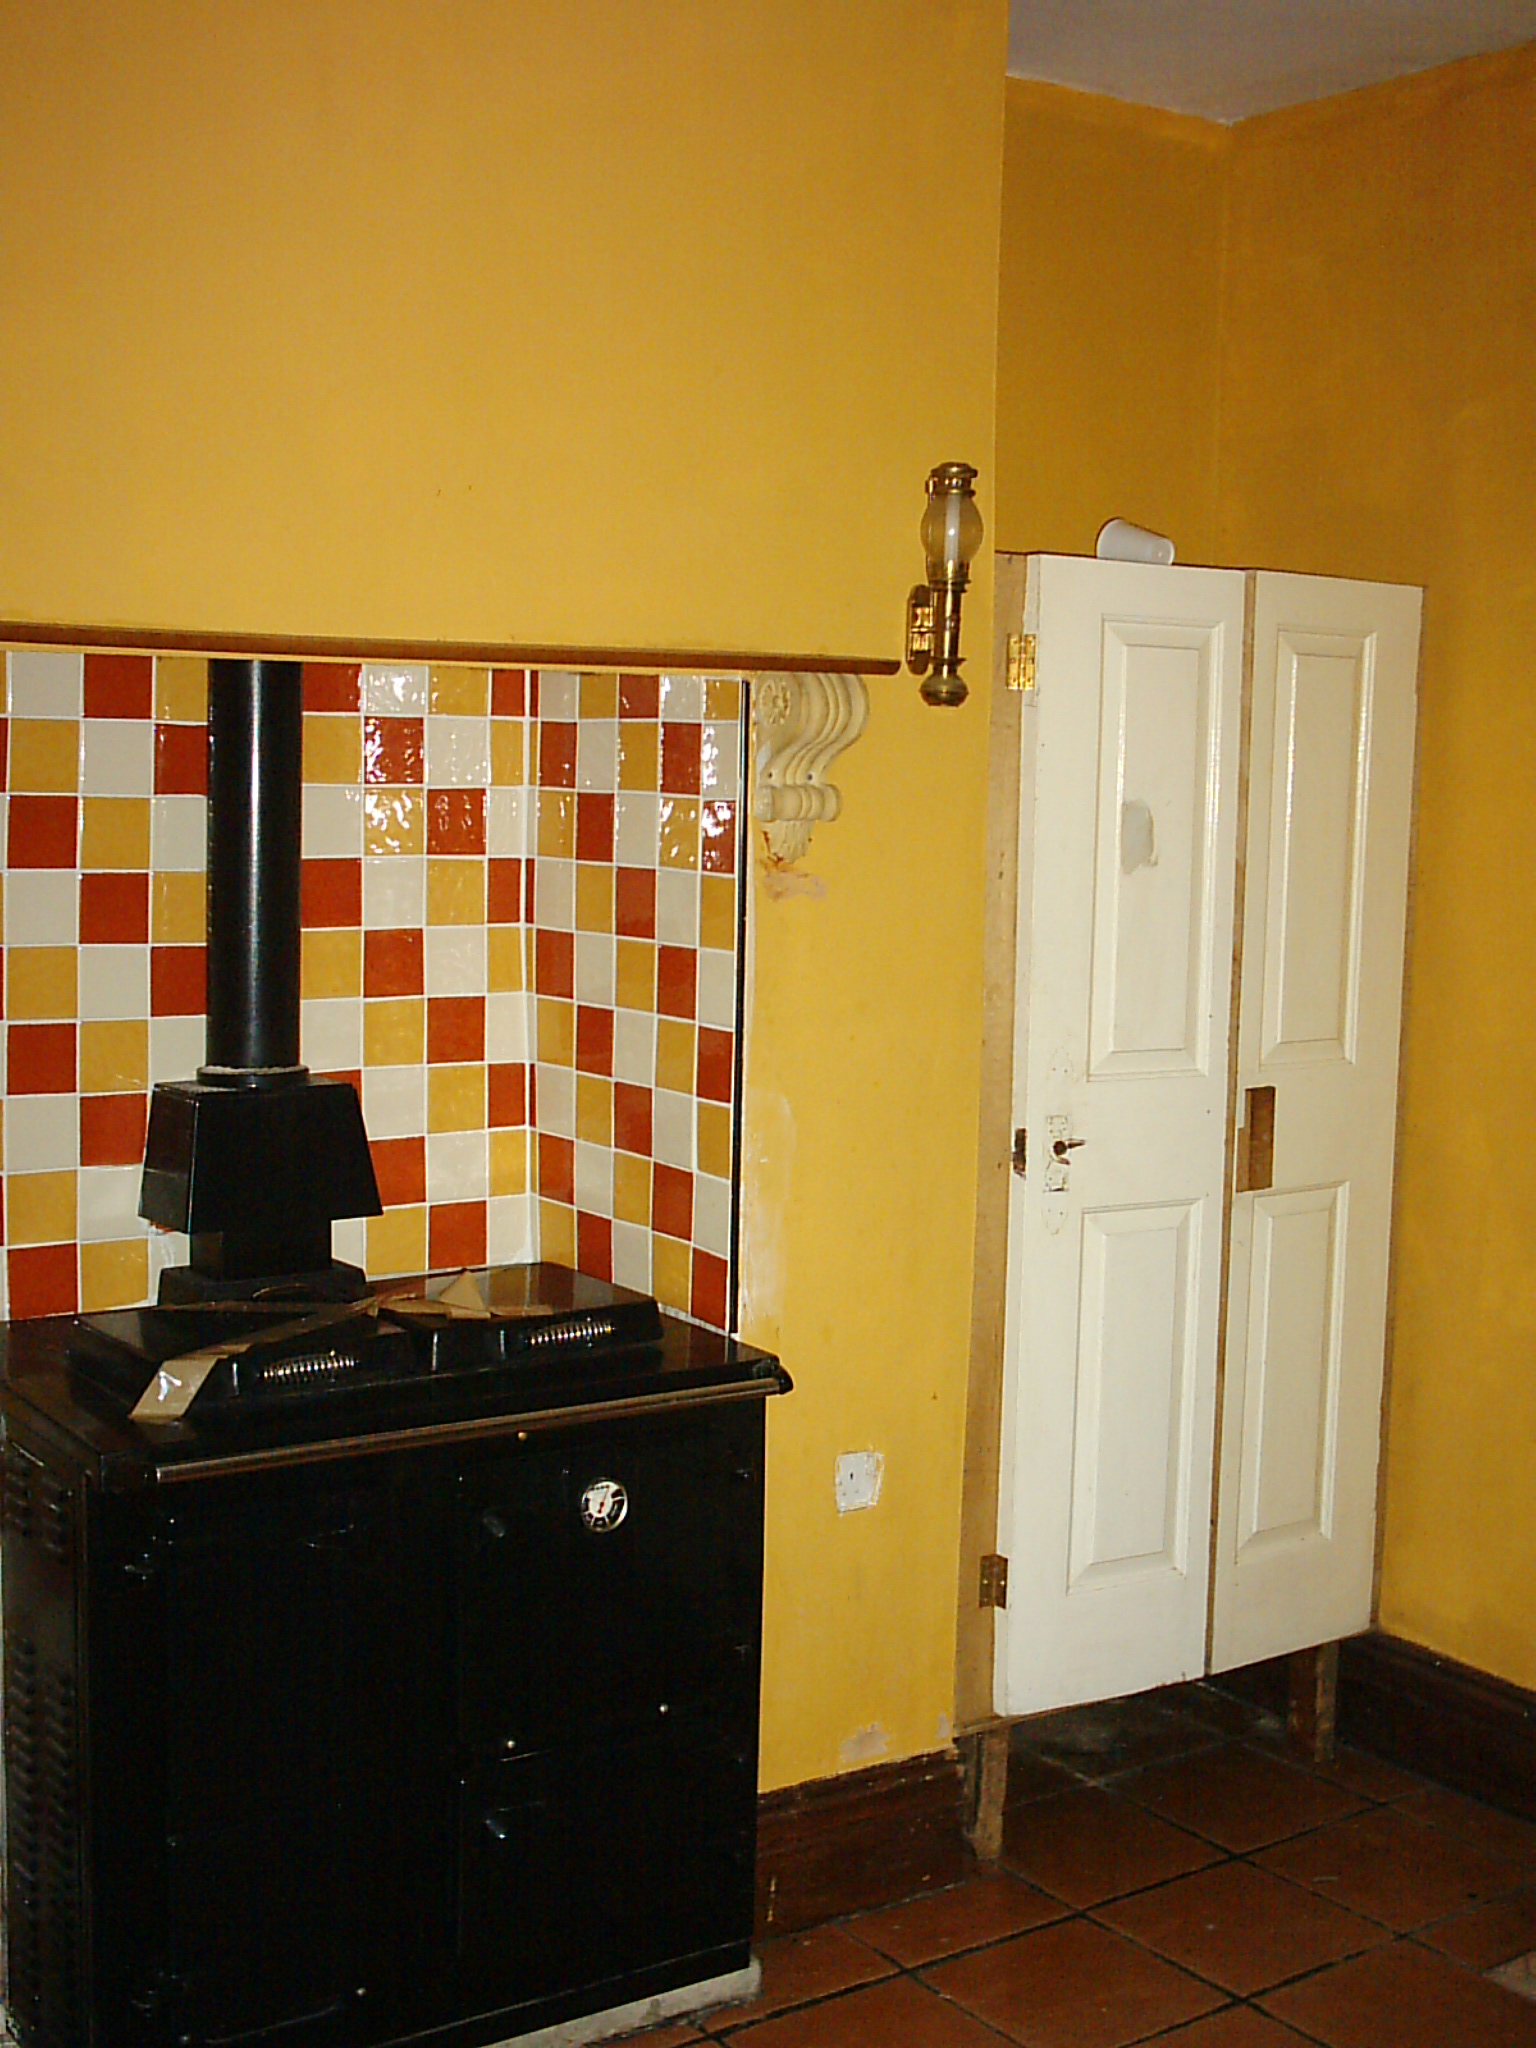
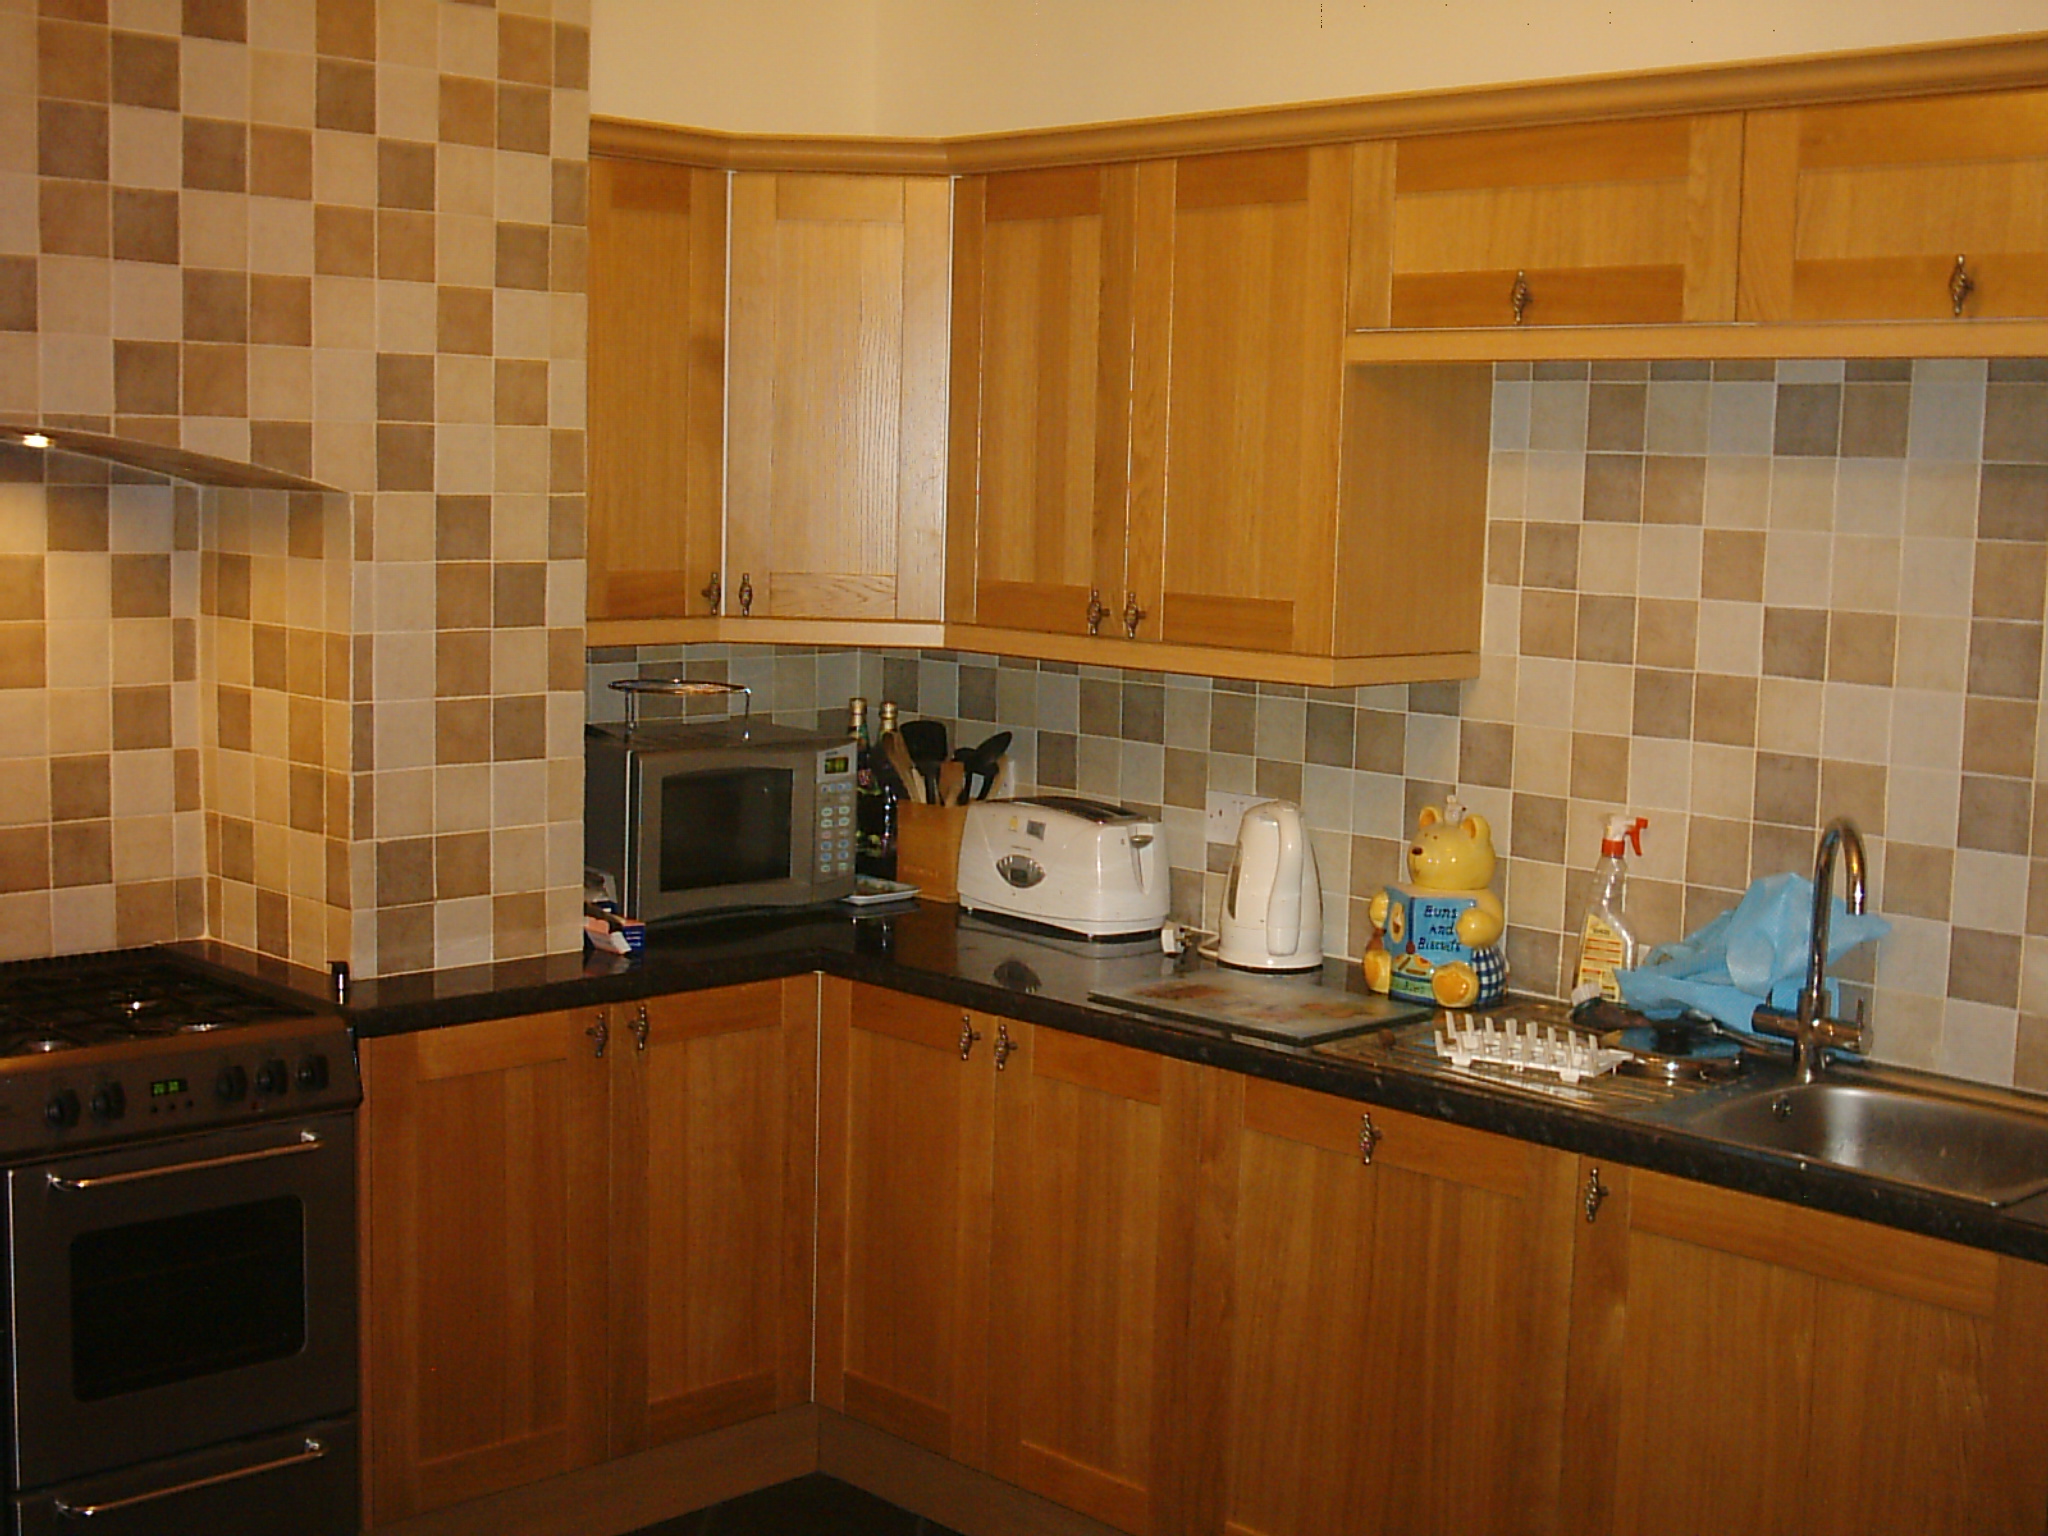
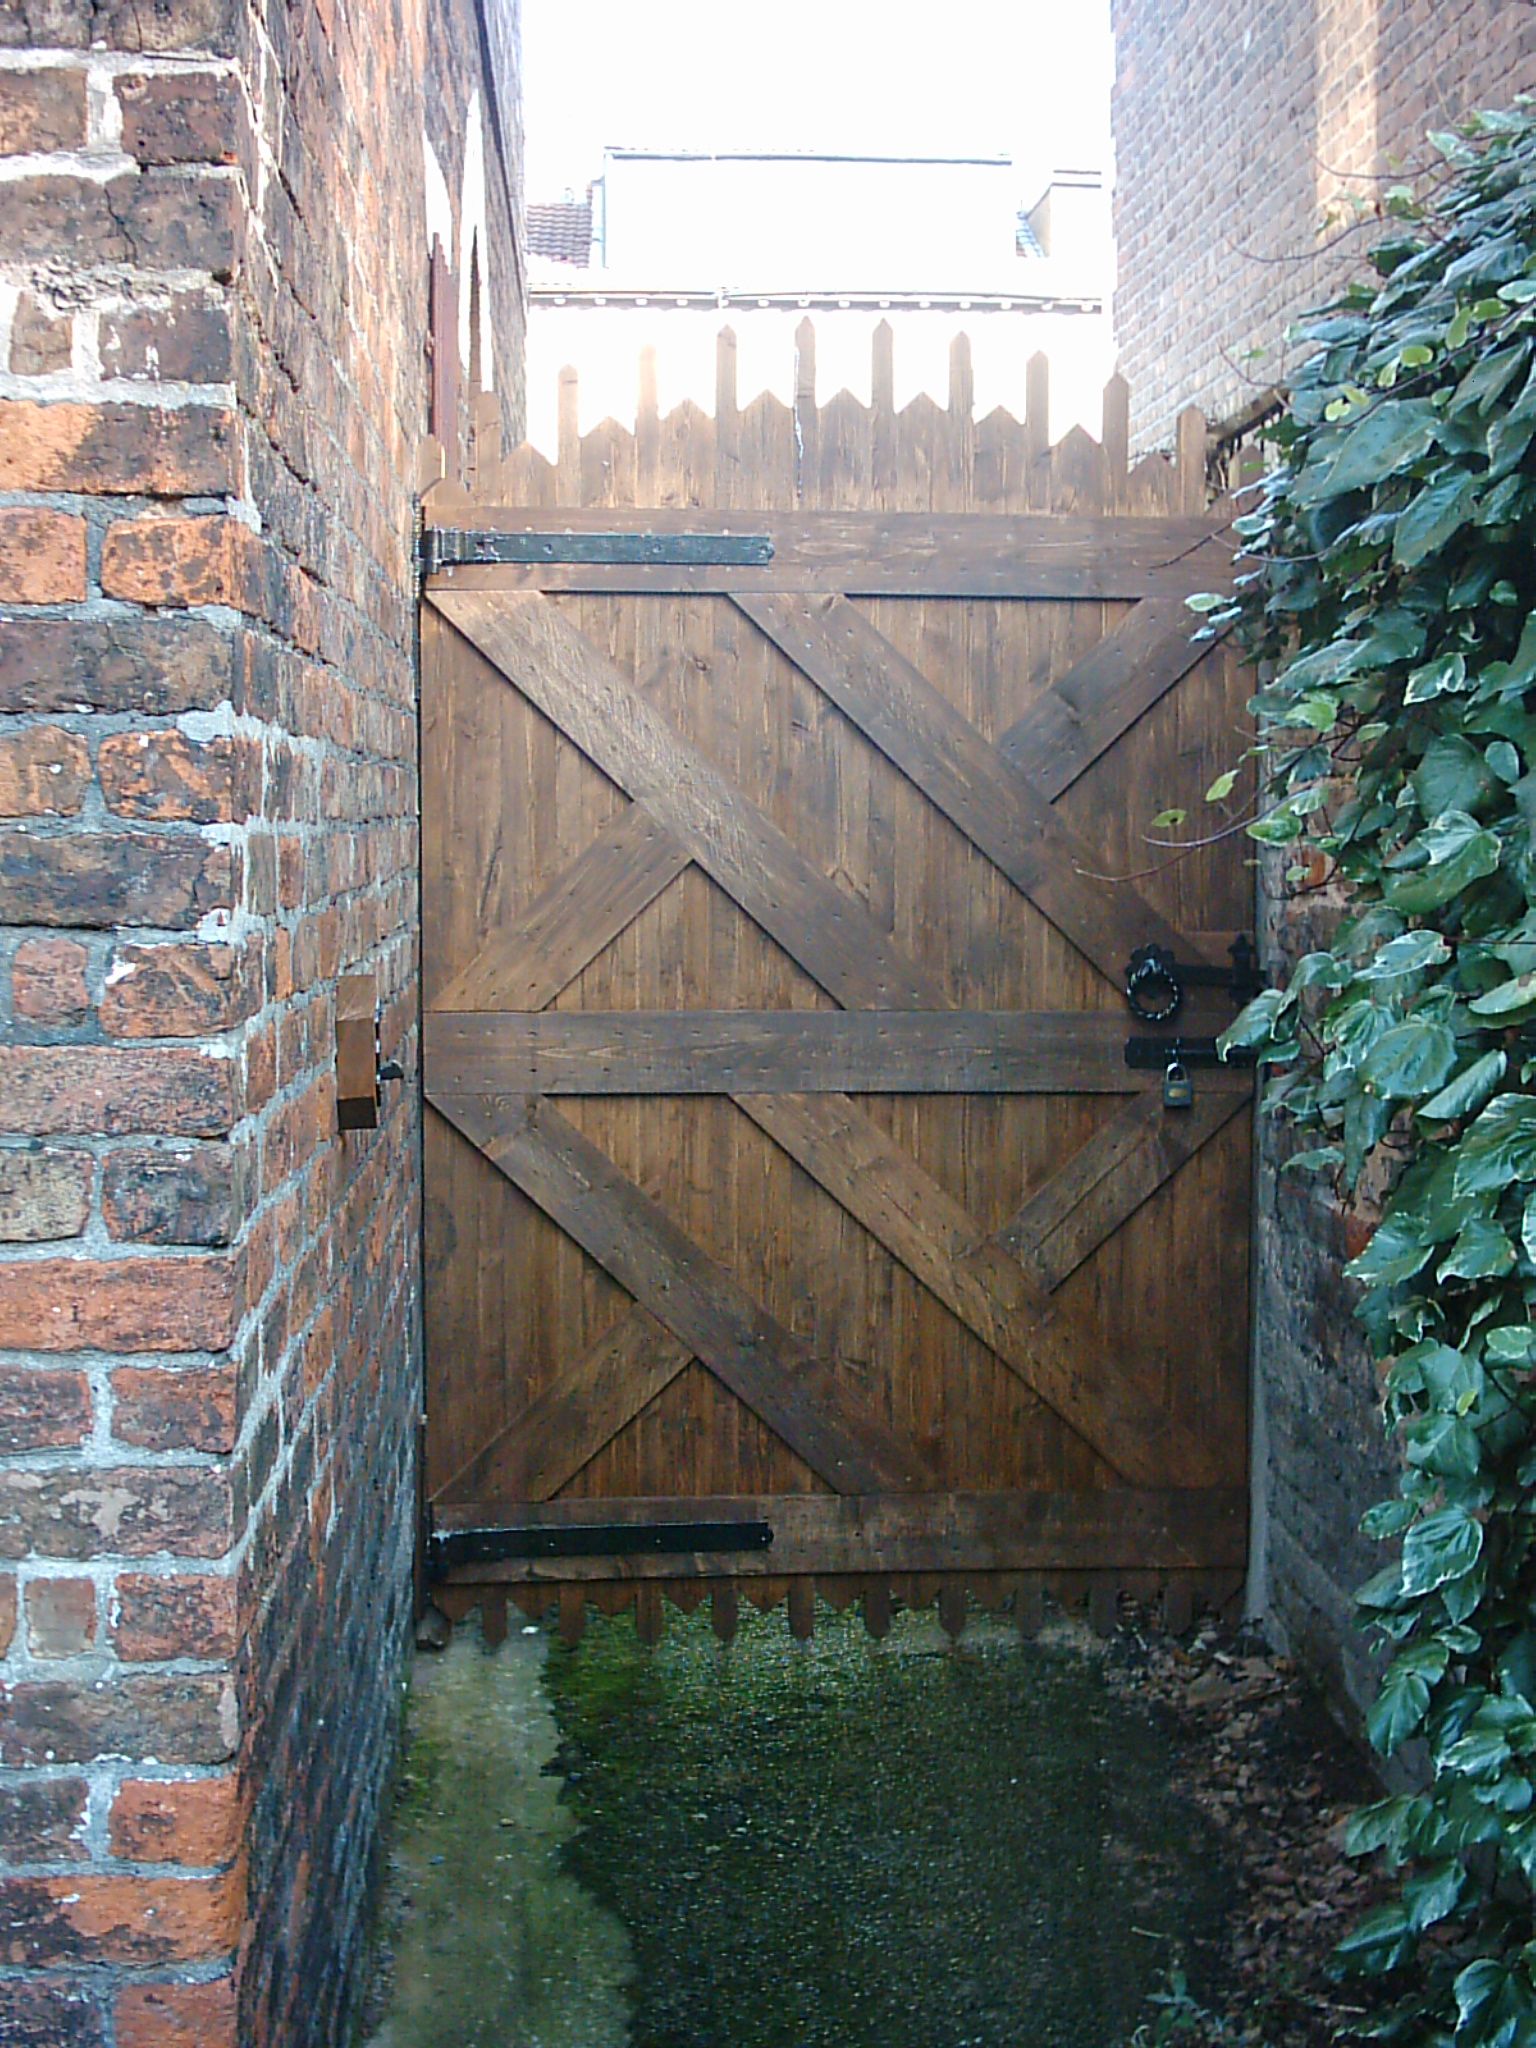
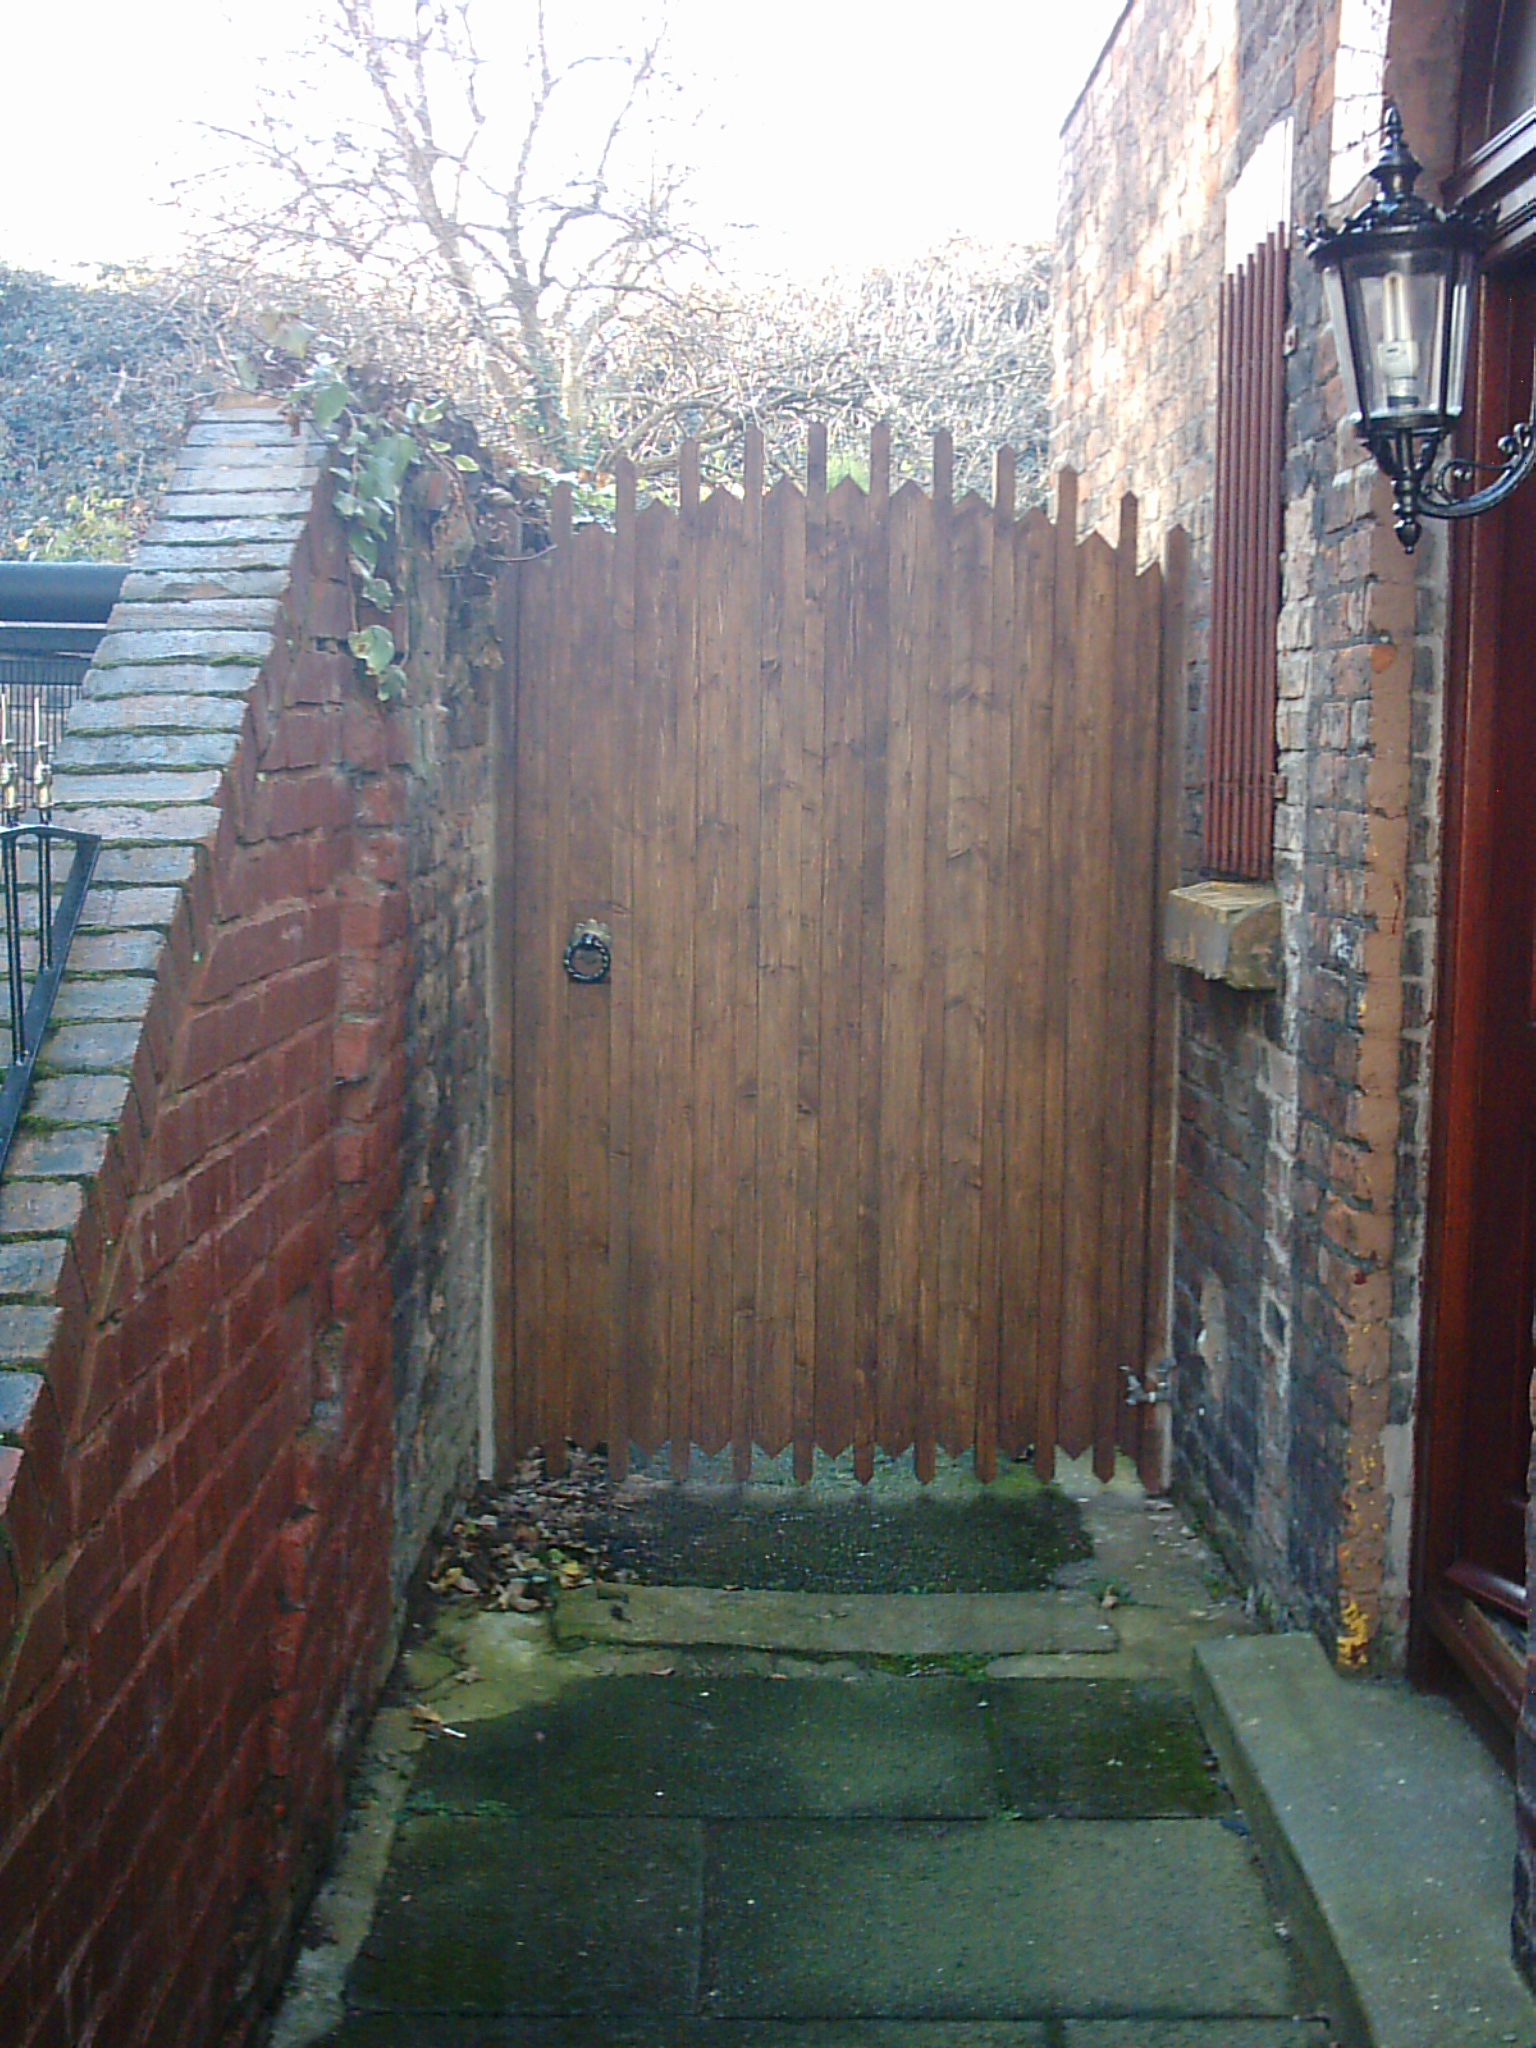
Got married, had baby, got a more involved job and bought a large house, so the techno stuff has been on the back burner for a while now. Have been slowly working on the house, the bits I'm most proud of are the kitchen (as bought 1 2, done up 1 2 3), and the 8x5' side gate (1 2). ,
Results of reverse engineering the conversions between Liebert's Multilink software and a GXT2-3000RT230 UPS are presented here.
Real time log parser for apache, which adds iptables blocking rules should any of a long list of attacks be attempted. The README describes the install procedure and mode of operation. The tar ball is available here.
Tired of waiting 40 minutes for your plants to grow in Plant Tycoon? This simple program lets you advance your PCs clock by any number of seconds per second, massively reducing the growing time. Plant Tycoon uses the system clock to time the growth of plants, so by increasing the rate at which time passes, the plants will grow faster. It is a good idea to reset your system time afterwards (you need to the restart the game) or some things, like email might be confused. Run it without an argument and it will ask for a time step, or create a shortcut where you can give a target of "adtime.exe 60" to advance time by 60 seconds per second (actually 61 seconds per second, real time is still ticking). You will have to start/stop adtime during the game, 60 seconds is too quick for some things. The source code was compiled with Cygwin.
Updated compact flash benchmark to include 100x Fujifilm Compact Flash that is MDMA2 capable, compared to IDE, SATA and an older CF drive. More details here.
Have had a PVR setup now many years, based on a set of bash scripts (backend recorder, web frontend and tv listings screen scraper). One day I noticed the resulting data files contained a lot of glitches, on average one every other second - though the errors were bursty so that average doesn't mean much. Searching the web found a few people with similar problems, blaming the BIOS, the SI3112 chipset, SATA drives in general, IDE drives in general or lack of multiblock read on the IDE drive. None of these were applicable to me, in my case the hardware hasn't changed in a few years. The first step was finding how to detect the errors:
mencoder /dev/dvb/adapter0/dvr0 -ovc copy -oac copy -o /dev/null
along with:tzap -a 0 -r "Channel 4"
would say it was skipping a frame or dropping a duplicate frame whenever there was an error.
To cut a long story short, the problem was the onboard VIA USB 1.1 bus on my VIA based DFI motherboard (Advance 10T) with P3 669 running 2.6.19.2. Had recently attached a usb-serial converter, which was idle but the kernel module was loaded. This being plugged in, or reading a lot of data from a USB stick created many DVB errors. When not using USB, there were a few errors within the first few seconds, then none for the rest of the recording. The DVB cards did not share IRQs with USB. Have not yet tested a USB 2.0 PCI card that is due to go into the machine.
Bought one of these thinking it was a good replacement for my 5 year old adsl modem. The main feature is that its a adsl to ethernet bridge, there is no NAT, and no need for port forwarding. You can only connect one machine to its ethernet port, but that machine has the real internet IP address. After I'd bought it however, a quick search showed a lot of people having problems with it, claiming it was flaky with p2p. I saw the same problem, seemed fine for a few days, then it wasn't fine at all - the machine connected to it would claim it was out of memory while doing simple network related operations and other similar very unusual network related errors. Turns out there are a few firmware configuration errors that can be just about be avoided, see here.
This is a nice modem, but BT want to use it only on with BT as the ISP. Try using your non-BT ISP details, and those details will be forgotten in hours/days. This is because the modem connects to a BT site, claimed to an auto update site, and removes your non-BT details and resets back to defaults. This can be stopped in two ways, flashing the modem with an open firmware or (and by far the easiest) is to poison the modems DNS table so that it cannot find auto update site. To do this, goto http://192.168.1.254/management , which is the default modem IP address and the more advanced configuration page. Click on the "DNS Resolve" option on left hand side, and enter a custom DNS entry of cwmp.cms.smehomehubrms.bt.com mapping to 127.0.0.1 . This will make the auto update fail, so it is never able to reset your ISP details.
Stopping MS Messenger at the perimeter in the modem sounds easy, but the combination of this modem and Messenger trying hard to get out onto the internet made it well worth documenting. The modem command set is badly documented, so this page here describes the commands and the required ports/subnets. Also supplied are scripts to add or remove the block, which would allow it to be timed to periods in the day/week.
Originally aimed at the EPIA motherboards with faulty pwm outputs, this hardware+software lets you control the speed of a fan using the _MOTOR_B signal (this signal normally enables the motor for floppy drive B:). The hardware consists of two options, the first is simpler to build but switches the negative side of the fan, so the RPM sense wire won't work. The diagram is available here: fanctrl_neg.pdf. The slightly more complicated diagram that switches the positive is available here: fanctrl_pos.pdf.
Also required is a daemon that continuously toggles the _MOTOR_B according to the speed sent to /dev/fan using a command like:
echo 128 > /dev/fan
which will run the fan at 50% duty cycle. Without the daemon, the fan will run at full speed, making it safe to use when the system is booting. The daemon source code is available here: fanctrl.c. Install instruction are at the top of the source.
Brute force password cracker for the Edimax ES-5224R+, 24 port 10/100, 2 port gigabit switch, with serial console.
If you suspect you know some letters of the password (ie. based on a permutatation of a known password) then this program has some chance of finding the password. The strcpy() in init() below provides a list of characters, and the function check4bad() provides some way of trimming the search space by skipping known impossible combinations. In my case it was repeated characters except the : character, which could appear twice.
For the search time to be realistic, the list of characters needs to be short. The list of 11 characters below, and the non-repeating policy of check4bad() would still take around 4 years to completely check the search space.
The C source code is available here crackedimax.c.
In an attempt to reduce the total power consumption of my system, I tried out the cpufreq-nforce2 module along with the cpufreq-userspace module for manual FSB control. My system is a Athlon XP2800+ with 1GB of ram, FX5900XT graphics, Raptor 76 GB HD and is liquid cooled. Reducing the FSB to the bare minimum would hopefully significantly reduce the total power consumption of the system.
Unfortunately this didn't happen, reducing the FSB to the minimum stable value (reducing clock speed from 2GHz to 1.3GHz) reduced power consumption by 5 Watts, from 60 Watts down to 55 Watts. The bigggest impact was a busy cpu, reducing power consumption by 19 Watts, from 101 Watts down to 82 Watts. The CPU clock speed is linked to the FSB, so computations are proportionally slower and you save nothing in the long run.
Note. The water pump uses 5 Watts. An idle Raptor uses 8 Watts.
Experimenting with a pair of Liebert Powersure XT 450, turns out the battery low signal is entirely timer based. After 4 minutes of battery use, the low battery signal will activate regardless of how little load the UPS is suppling. Also, changing the 7Ah battery for a much larger 85Ah battery (by drilling a hole in the case and running wire to an external battery. Careful, the battery is at mains potential. The UPS will still say the battery is low after 4 minutes. Measuring the voltage of this large battery, it falls rapidly in the first 4 minutes, then rises for the rest of the time. Suggesting the conversion electronics is somehow flawed. Before and after this low battery condition, the output voltage was around 195 Volts.
I'd think this UPS was broken, but I have two and they both behave in the same way. So, if you want a UPS that does what it says on the box, don't buy a Liebert Powersure XT 450.
Also experimented with a APC SmartUPS 1400. The twin 17Ah sized 12 Volt batteries powered a 60 Watt bulb as load for 2 hours, 23 mins. At this point the battery low signal came on and I restored mains power. Researching battery capacity, the practical energy storage of a battery is 60% of that stated by the manufacturer. The manufacturer would drain the battery nearly flat, massively reducing its life but showing a higher capacity, the capacity on the battery. Low to high voltage conversion efficiency varies but you can expect at least 77%.
Putting these figures together twin (new) 17Ah sized 12 Volt batteries should provide:
24 Volts * 17 AmpHours * 3600 seconds * 0.77 * 0.6 = 678000 Joules of usable mains voltage energy
The 60 Watt bulb above should then last for:
678000 Joules / 60 Watts = 11300 seconds = 3 hours, 8 mins
Where did the extra 40 mins go? My batteries were a few years old, the actual capacity had fallen to more like 14 Ah. Note, the bulb is a resistive load, most modern loads are partly reactive, which will skew the figures.
While playing Track Mania Nations, noticed the net play option was very limited (needs to go via publishers server) and the LAN game would only work across a single LAN, multiple subnets or VPNs stopped it dead. This little program relays the "i-am-a-client-looking-for-a-server" packets to named server machine on different subnets, allowing cross network play. A Linux and Windows version is availabe. More details are here.
Utility exercise the seek mechanism of hard disks and report seek rate statistics. It is largely targeted at new harddisks that should be exercised to encourage early failure (i.e. assuming a bathtub curve for failures). Thrash page can be found here.
Utility to convert ascii text (such as the text of this page, without html) into xfig format, fully justified text. Ideally I wanted a utility to convert opaque EPS files into transparent background EPS files, but this solution filled the gap instead. Its page can be found here.
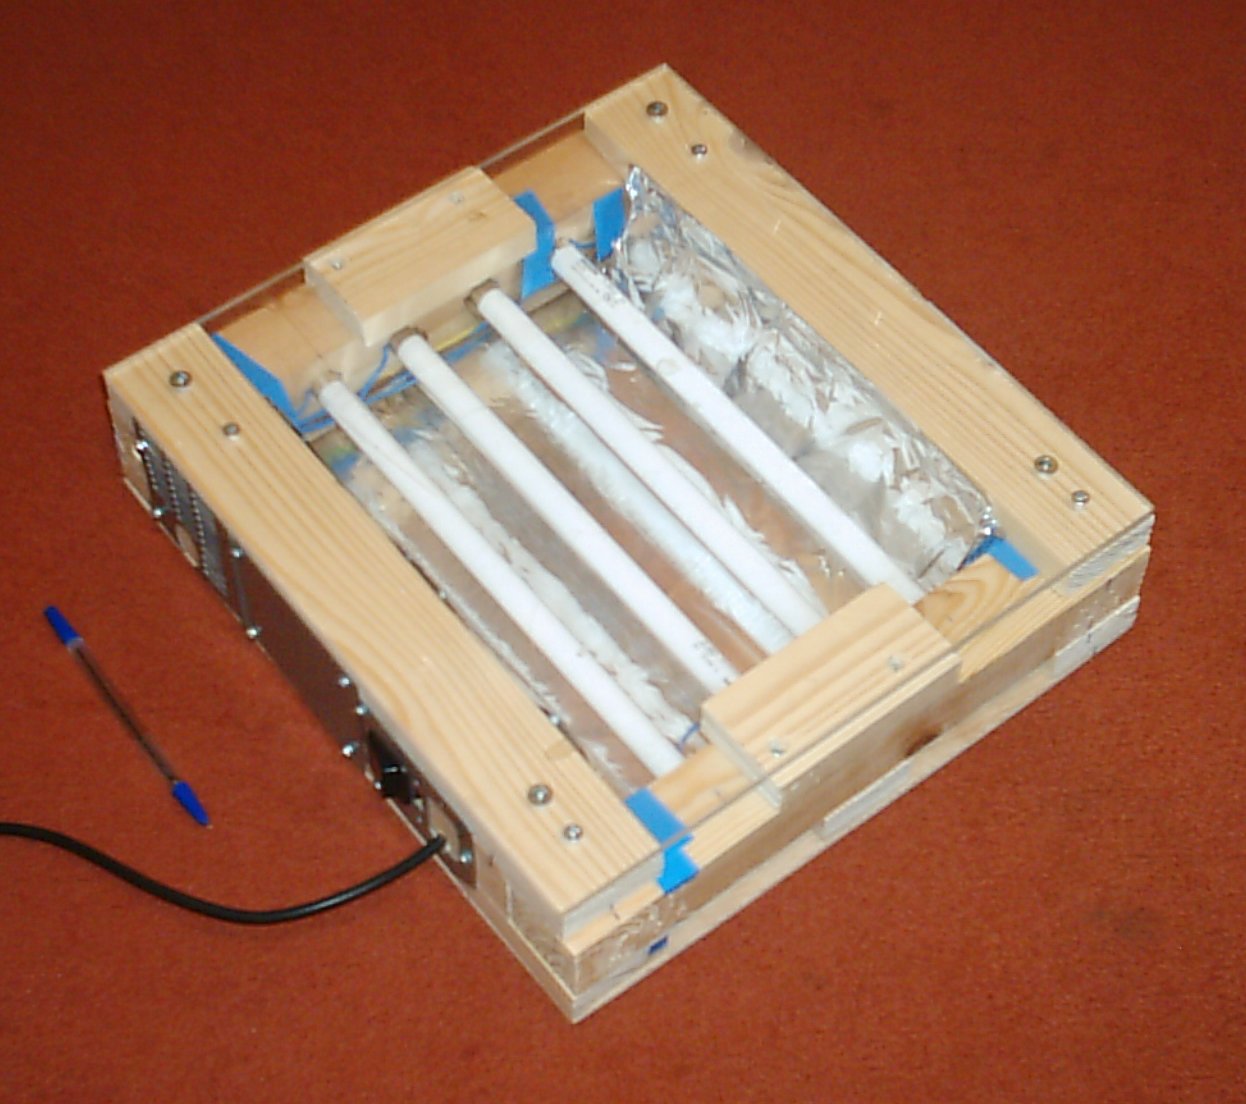
A project needing a custom PCB (stripboard would not be good enough) meant a UV exposure box was essential. The finished (but for better tube starters and a timer) is shown here and here. This consisted of four 12" 8W uv tubes sold as replacement fly killer tubes, two magnetic ballasts (chokes) that can drive 2 tubes each, a 4uF capacitor (for power factor correction) and four 4-22W starters. All these parts were bought from QVS with a total cost of around 25 ukp. The case was made from an old bed frame, and the perspex lid was left over from something else. When its built, the timer will consist of a 4060 CMOS oscilator+counter driving a relay, with the resistance of the oscilator changed with a potentiometer.
A few points. We used aluminium foil, but I've read mylar film is more reflective to UV. There is rather a lot of heat generated by the tubes and ballast, some venting is a good idea.
Note we originally used 4-65W starters, but this meant the tubes had to be started partly manually A switch did the job of a starter, with each pole of the switch connected across a useless starter. When the box is plugged in, nothing happens, as the voltage isn't high enough to spark across both pairs of starters. Closing the switch, the voltage in high enough to spark across a single starter, so that tube (and its identically wired twin) starts. The switch is left in this position for a few seconds to warm up the cathodes in the tubes that didn't start. Switching to the off position, the off tubes start and we now have 4 glowing tubes. Not ideal, but it worked. Using 4-22W starters made all the difference, with these in parallel to the tube, with the tubes in series, the pair of pairs started automatically.
Since the central heating was installed, I've missed the digital timer and thermostat found in the previous house. Looking at the wiring of this new combi, it supported remote thermostats, but the installer didn't bother to fit any. I could have just fitted a thermostat and continued using the mechanical timer on the boiler, but not, instead wanted to use the firewall machine.
Temperature sensing is done with the PC game port connector, with a thermistor acting as an analog joystick. Note the game port can read a maximum of 470Kohms resistance, using this upper end means using a high NTC thermistor, a 10K NTC thermistor won't work very well. Calibration was done with some hot water, by reading the raw (ie. uncalibrated) values (for Linux, look at the 'joystick' package and its joystick reading utilities), while also measuring the real temperature. I found the long wires to the thermistor picked up a lot of noise, a side effect timed-AtoD converter, this was reduced by putting a capacitor across 5V and Gnd near the thermistor. A graph was plotted using the measured values and simplified into equally spaced straight line sections.
Output to the boiler was via the floppy drive connector (which isn't used at all in the firewall machine). Most control lines to/from the floppy would need serial decoding or are hard to drive in software, but MOTOR_A and MOTOR_B are single bits in IO address space. Based on the WDT project above, I know MOTOR_B can be used while using a floppy drive, so I chose to use MOTOR_B. From this, a resistor, transistor, diode and relay were enough to isolate the computer from the central heating boiler. The source for motorb is here.
The software was a simple program that read a line by line description of time windows and required temperatures, with the last applicable line being the target temperature. The description is read every 15 minutes and the status of MOTOR_B changed accordingly.
While playing Need For Speed Underground 3, noticed the net play option was very limited (needs to go via EA server) and the LAN game really would only work across a single LAN, multiple subnets or VPNs stopped it dead. This little program relays the "i-am-a-server" packets to named machines on different subnets, allowing cross network play. A Linux and Windows version is available. More details are here. Note NFSU3 uses the same protocol as NFSU2, so the same relay does both games.
Started using Compact Flash with the carputer, as the 2.5" drive couldn't take the vibration. Being solid state, it should have a low random seek time, the benchmarks comparing it a standard 3.5" drive are here.
While playing Rainbow 6 Raven Shield, noticed the net play option was very limited (needs to go via publishers server) and the LAN game would only work across a single LAN, multiple subnets or VPNs stopped it dead. This little program relays the "i-am-a-client-looking-for-a-server" packets to named server machine on different subnets, allowing cross network play. A Linux and Windows version is available. More details are here.
Seeing the many brute force ssh based attacks that have appeared, this addition to sshd creates ssh blocking firewall rules. An ssh which lacks the ssh id string or tries to log in to an invalid user is instantly firewalled, normally they wouldn't even see the 'password:' prompt. Also, too many guesses to existing accounts are blocked too. More info and download is here.
Ghost4Linux is a method of running Norton Ghost on Linux, and doing so via PXE booting. This means I can remotely do a full system level backup of Windows machines without any hint of Linux being on the client machine, and have the backup go direct to an NFS share of my choice. Details of how to do this are quite involved as it means using DOSEmu, Ghost and setting up a variety of booting and monitoring scripts, and a kernel module to get around Ghost's "Mark these drives as Ghost?" message. More full details can be found here.
While playing Need For Speed Underground 2, noticed the net play option was very limited (needs to go via EA server) and the LAN game really would only work across a single LAN, multiple subnets or VPNs stopped it dead. This little program relays the "i-am-a-server" packets to named machines on different subnets, allowing cross network play. A Linux and Windows version is available. More details are here.
The NForce chipset based board have a two pin connector for power supply tempurature. Failing to find any details on this, I purchased and then calibrated a standard thermistor (10K NTC R-T Curve Matched Thermistor RS#151-237). Reading from lm_sensor's temp3, the temperature is 1.62+temp3*0.76 degrees C. This was calibrated with a glass of initially hot water and a thermometer, logging the temp3 and the real temperature, and then fitting to an equation. What this also shows is that the on board temp sensors are not even slightly calibrated, they probably measure temperature, but it isn't in any known units.
This design used a combination of home made water blocks, one was milled copper, and the other was a standard 1U copper heatsink with a home made lid. Also used a standard heater matrix, this has more surface area than the giant plate based radiator that I used previously, but it must be said has much more resistance to the passage of air. More details can be found here.
Have so far made two water cooled systems. This design used simple water blocks made of plate, and a home made radiator that was more like a scaled up heatsink than the traditional heater matrix. The page for the first can be found here.
The below PSU was with a view to creating an in-car computer, more details can be found here.
Leading to the next project, this one created a 12V powered ATX power supply, using ideas and parts suggestions from here. This implementation was a full ATX, rather than a partial ATX this guy created. ie. I add an PSU_ON signal and a permanent 5V. More info can be found here.
Since aquiring some 19" sync-on-green monitors a few years ago, they had always been tied to the low spec computer they came with because the monitor only supported the sync-on-green method of signaling a new line and new frame. Some careful research shows that the extraction of the syncs from green is done by a M52001SP sync signal processor. As the name suggests this is a general purpose chip that can derive a sync from several sources, on green, composite or separate horizontal/vertical. Even more fortunate was the circuit layout ready to take the pair of 4.7uF capacitors. All it needed was BNC plugs fitting and an obvious pair of link wires. Alas all is not great, this monitor is also fixed frequency at 1280x1024, 72Hz (though it can be forced to use 1400x1050, which seems to work okay too). So, it must be used in graphics mode with this modeline:
Modeline "XT1280x1024" 135.0 1280 1344 1536 1728 1024 1027 1030 1085
With some tweaking and a supported graphics card it would be possible to use the frame buffer device to generate a high enough frequency to use a text console.
Linux i386 hardware based watchdog timer, that is a device that resets the computer if it crashes and locks up. Typically used for remote administration. Given here is the circuit diagram which plugs into the 5-1/4 floppy drive connector and the source code for the watchdog daemon. More details are here.
Written by Greg: r.gregory at liverpool ac uk. Would welcome any comments.